The Process
From design to
living plant
Seven steps from a guide RNA specification to a confirmed-edit plant growing in soil. This is what the platform produces — and what a CRISPR kit and some patience lets you verify yourself.
End-to-end timeline
Total: 6–18 months depending on transformation protocol and organism. CRISPR design itself takes minutes in the platform.

Design your edit
Pick a target gene, generate a guide RNA, check off-targets.
Start in the platform's CRISPR Designer. You specify which gene you want to edit — for capsaicinoid engineering, the most common targets are POX (knock it out to prevent capsaicin degradation), PAL (overexpress to boost phenylpropanoid flux), and COMT (overexpress for vanillylamine supply). The designer generates guide RNA sequences targeting your chosen locus, scores each one for on-target efficiency (Doench 2016) and off-target risk (CFD algorithm), and returns a ranked list. Pick your top guide. Export the construct as FASTA.
Open CRISPR Designer →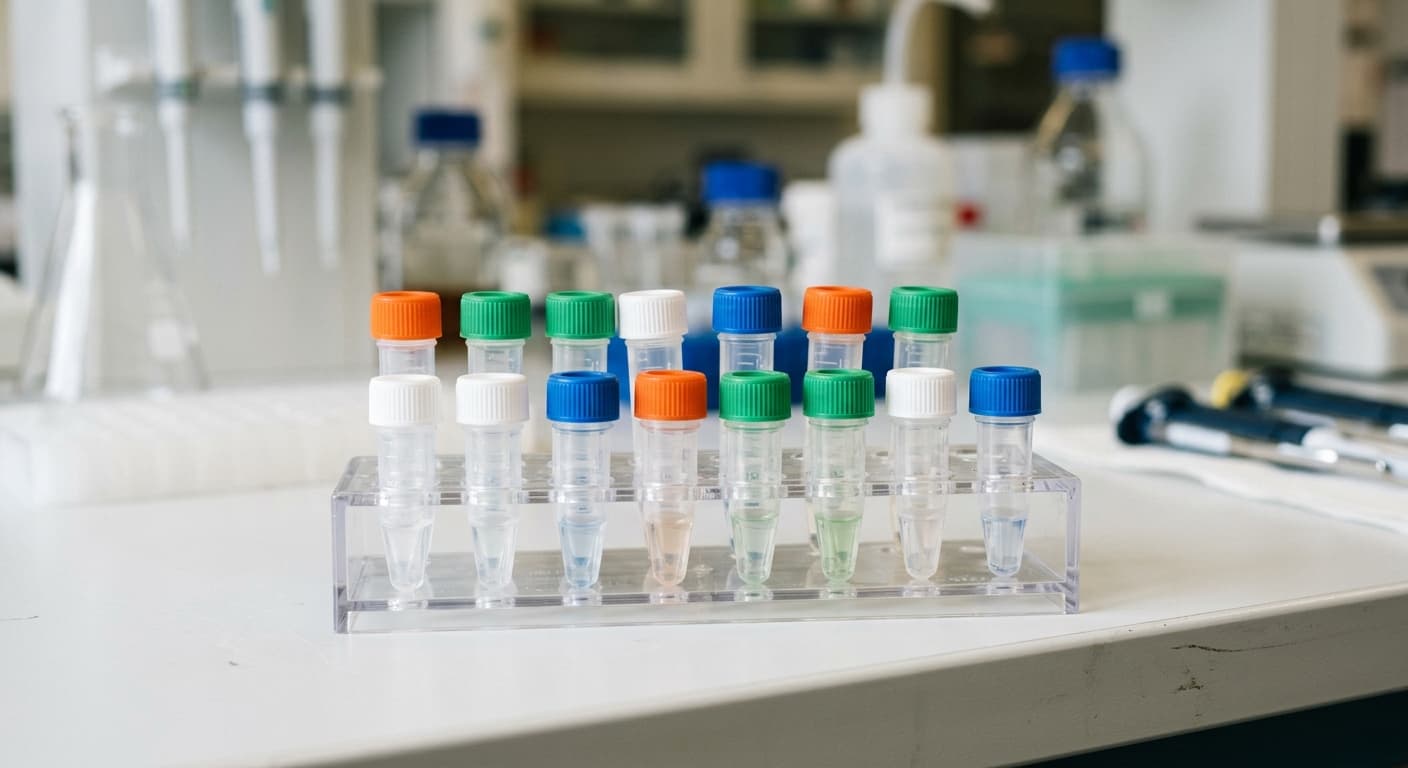
Assemble the construct
Clone your guide into a T-DNA binary vector with Cas9.
Your guide RNA sequence gets cloned into a binary vector alongside the Cas9 gene (for stable integration) or used to load a ribonucleoprotein complex (for transient, DNA-free delivery). For most home and small-lab setups, a binary vector approach is more accessible: vendors like Addgene supply ready-made Cas9 backbones, and Golden Gate or Gibson assembly lets you insert your spacer in an afternoon. The finished plasmid goes into an Agrobacterium strain — GV3101 or EHA105 are standard. This is where a CRISPR kit (AddGene, Benchling-designed synthesis from IDT or Twist) makes the barrier genuinely low. Synthesis of a 20-nucleotide spacer costs under $20 at current IDT pricing.
Infect leaf tissue with Agrobacterium
Agrobacterium transfers your T-DNA into the plant cell nucleus.
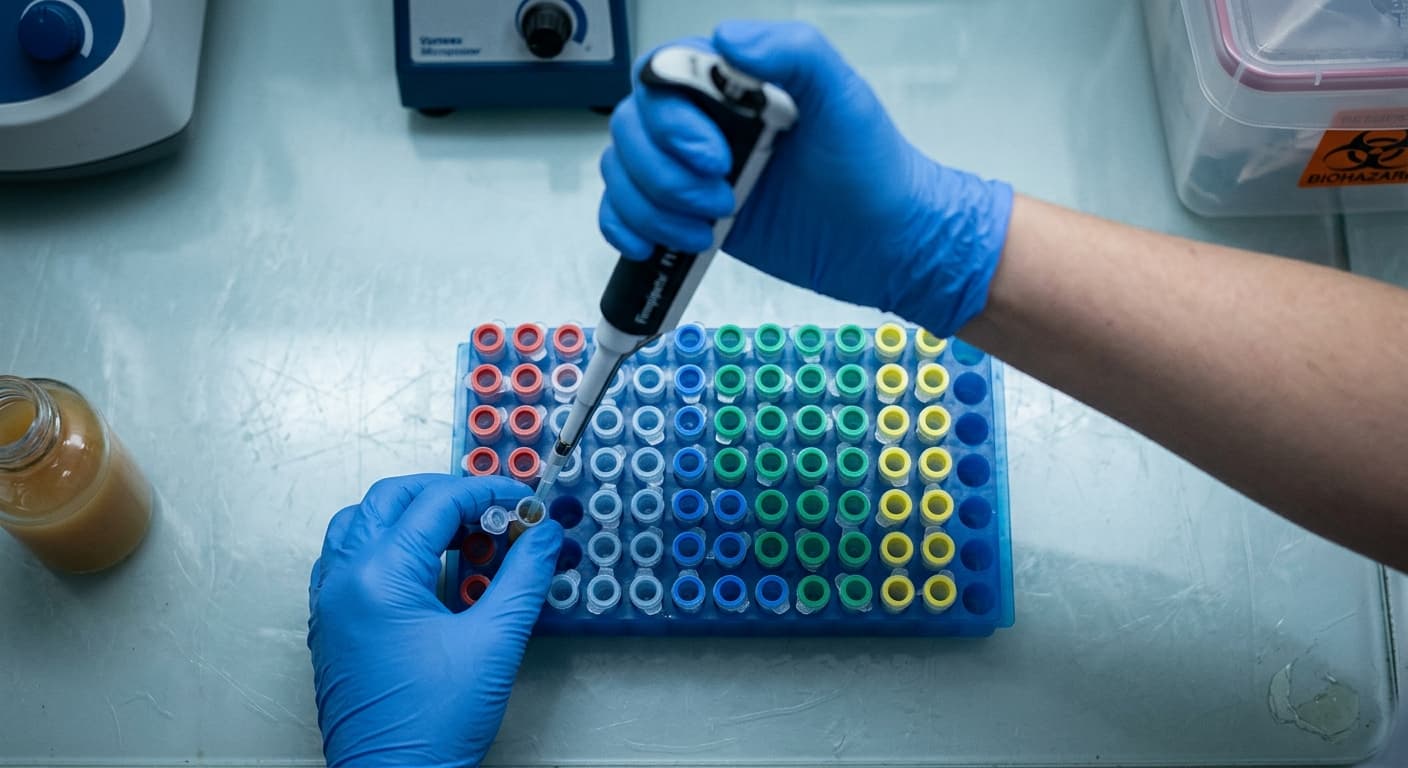
Cut small discs from young, healthy pepper leaves — typically 1 cm² squares from a 4–6 week old seedling. Soak them for 10–15 minutes in an Agrobacterium suspension (OD600 ≈ 0.6), then blot dry and place them on co-cultivation medium containing acetosyringone (the chemical signal that tells Agrobacterium to activate its vir genes). Incubate for 2–3 days in low light at 24°C. During this window, the bacterium threads a copy of your T-DNA through a pore in the plant cell wall and into the nucleus, where it integrates semi-randomly into a chromosome.
Select transformed callus
Only cells that received the T-DNA survive antibiotic selection.
After co-cultivation, transfer the leaf discs to selection medium containing a plant antibiotic (kanamycin at 100 mg/L is standard) and cefotaxime to kill the residual Agrobacterium. Cells that successfully received and expressed the T-DNA survive; untransformed cells die. Over 3–5 weeks, surviving cells proliferate into undifferentiated tissue masses called callus. The callus is pale, waxy, and slightly glossy — it looks nothing like a normal plant. That's fine. This is exactly what you want.
Regenerate shoots and roots
Hormone shifts turn callus into a whole plant.
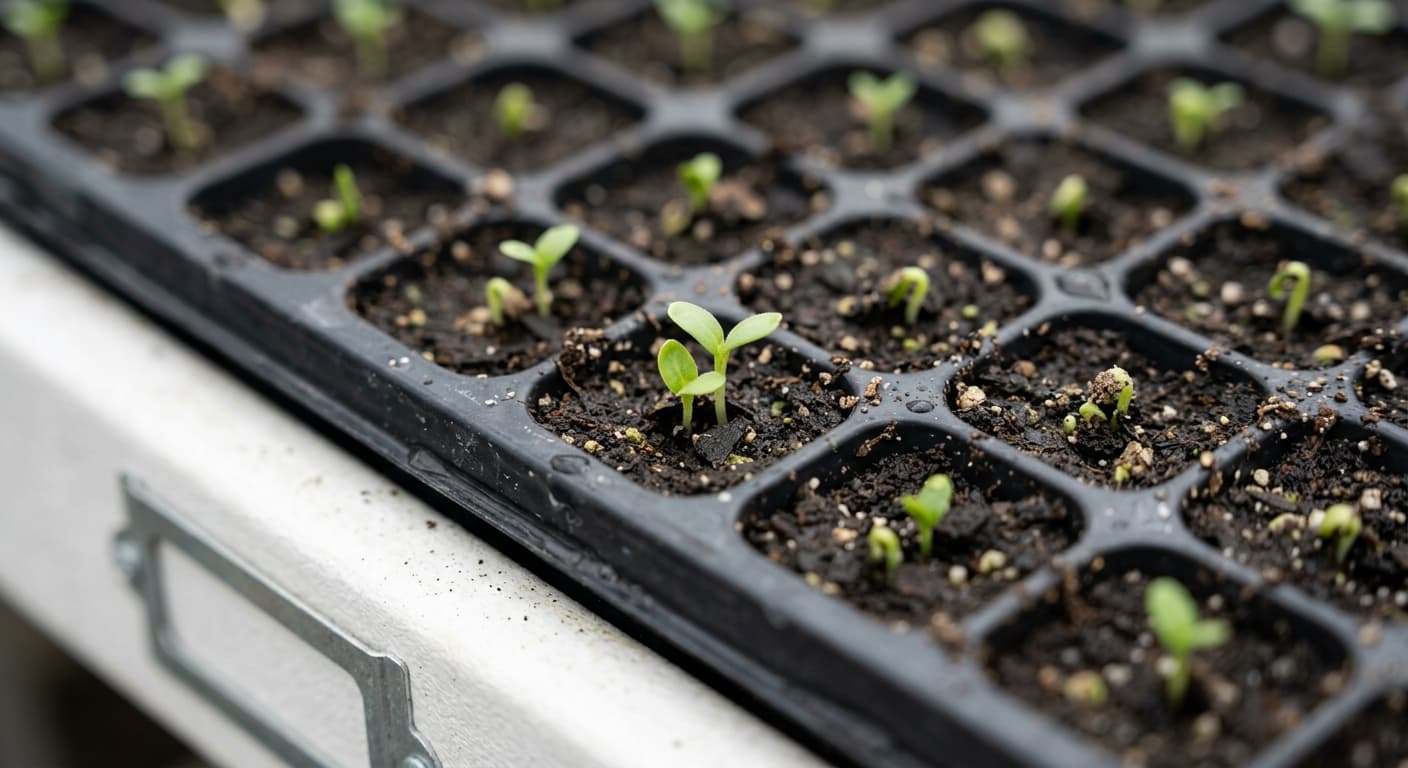
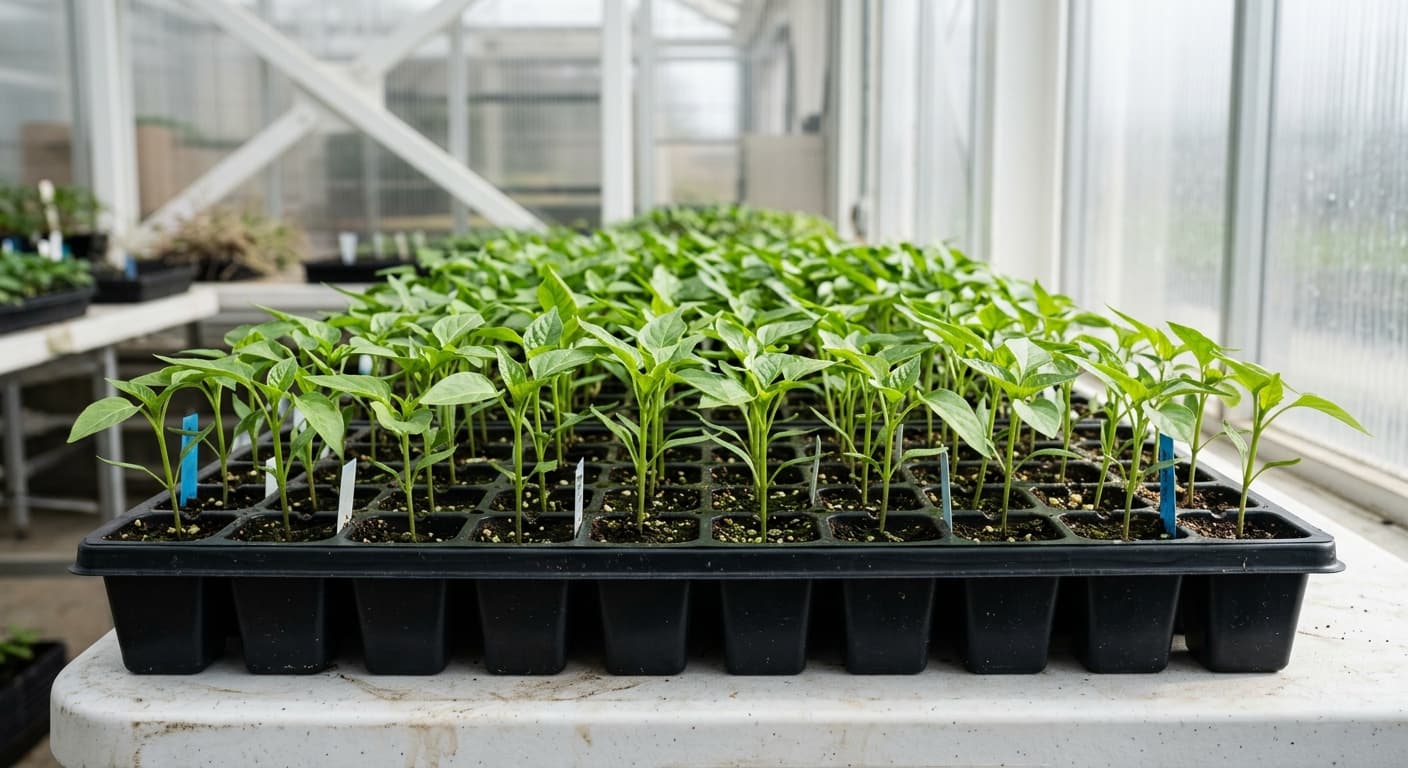
Move the callus to shoot-induction medium (high cytokinin, low auxin). Within 4–8 weeks, green shoot buds emerge. Transfer shoots to rooting medium (low cytokinin, higher auxin). Roots form within 2–3 weeks. The resulting plant — now called a T0 (primary transformant) — looks like a normal pepper seedling. Move it to soil in a controlled environment: greenhouse or growth chamber, 28°C day / 22°C night, 16h photoperiod, high humidity to reduce transplant shock.

Confirm the edit
PCR and sequencing verify the edit; HPLC confirms the biochemistry.
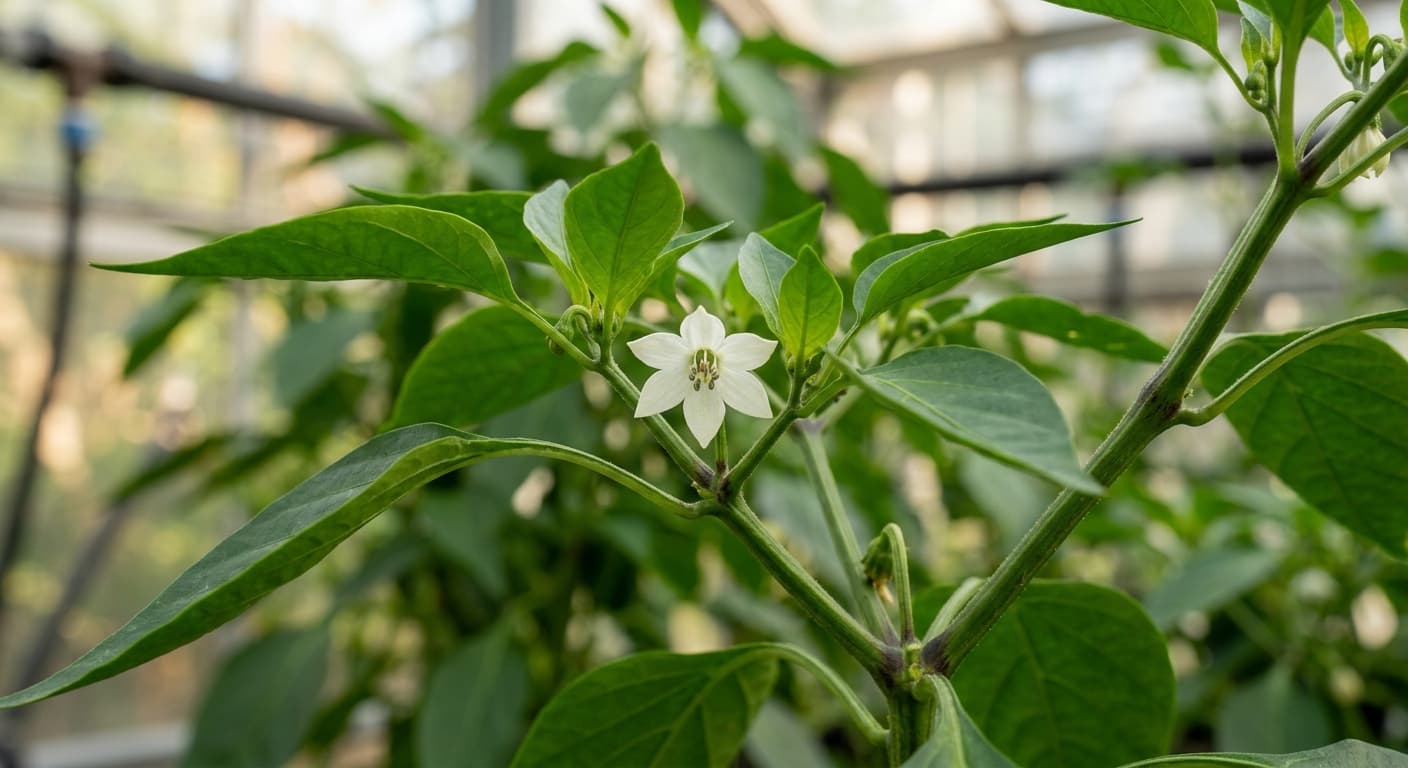
Extract DNA from a leaf of your T0 plant. PCR across the target locus with primers flanking the guide RNA cut site. Run the amplicon on a gel — two bands (wild-type and edited) in a T0 indicates biallelic editing; a single shifted band indicates complete editing. Send the amplicon for Sanger sequencing to confirm the exact indel. Once CRISPR-confirmed plants flower and fruit, run HPLC on placental tissue to measure capsaicinoid concentrations. That's the number that matters: SHU from a model is a prediction; SHU from HPLC is a fact.
Cross to homozygosity, remove Cas9
Two generations of selfing lock in the edit and clean up the transgene.
T0 plants are hemizygous — they carry the edit on one chromosome. Self-pollinate the T0 to produce T1 seeds. Among T1 seedlings, 25% will be homozygous for the edit (both copies edited), 50% hemizygous, 25% wild-type — standard Mendelian ratios. Screen by PCR. Select homozygous T1s and self again to produce T2s: these are stable, uniform, and can be multiplied reliably. If your vector carried the Cas9 transgene (as most binary vectors do), screen T1s simultaneously for Cas9 absence: the edit and the Cas9 locus are on different chromosomes and segregate independently. T1 plants that carry the edit but not Cas9 are your clean lines — edit only, no foreign DNA remaining.
You can do this yourself
Commercial CRISPR kits from suppliers like Addgene, IDT, and Twist make steps 1–3 accessible to anyone with a basic plant biology lab setup. The design step — which used to require a bioinformatics team — now takes minutes in the platform.
Our constructs include synthesis-ready FASTA files, construct maps, recommended primers, and the CRISPR guide files ready for ordering from your preferred synthesis vendor. The ZIP download from any product page contains everything you need to start step 2.
A note on what’s been validated
All SHU values on this site are computational design targets from flux balance analysis — not measured HPLC results. The pipeline and pathway models are the same ones documented in our preprint (in preparation). Greenhouse validation on physical plants is underway. We distinguish clearly between predicted and measured throughout the site.
See validation dashboard →